Hard as it may be to imagine, there was a time when Java was brand new and exciting. Long before it became the vast clunky back-end leviathan it is today, it was going to be the ubiquitous graphical platform that would be used on everything from cell phones to supercomputers: write once, run anywhere.
Initially I drank the kool-aid and was thrilled about this new “modern” language that was going to take over the world, and drooled at the notion of Java-based computers, containing Java chips that could run java byte-code as their native machine code.
I even had a promotional flyer stuck to my wall, alongside pictures of Lydia Lunch, drum machines, and Jimi Hendrix; it had a picture of the soon to be released JavaStation, looking like a designer purple coffee pot; it stimulated my imagination just by looking at it.
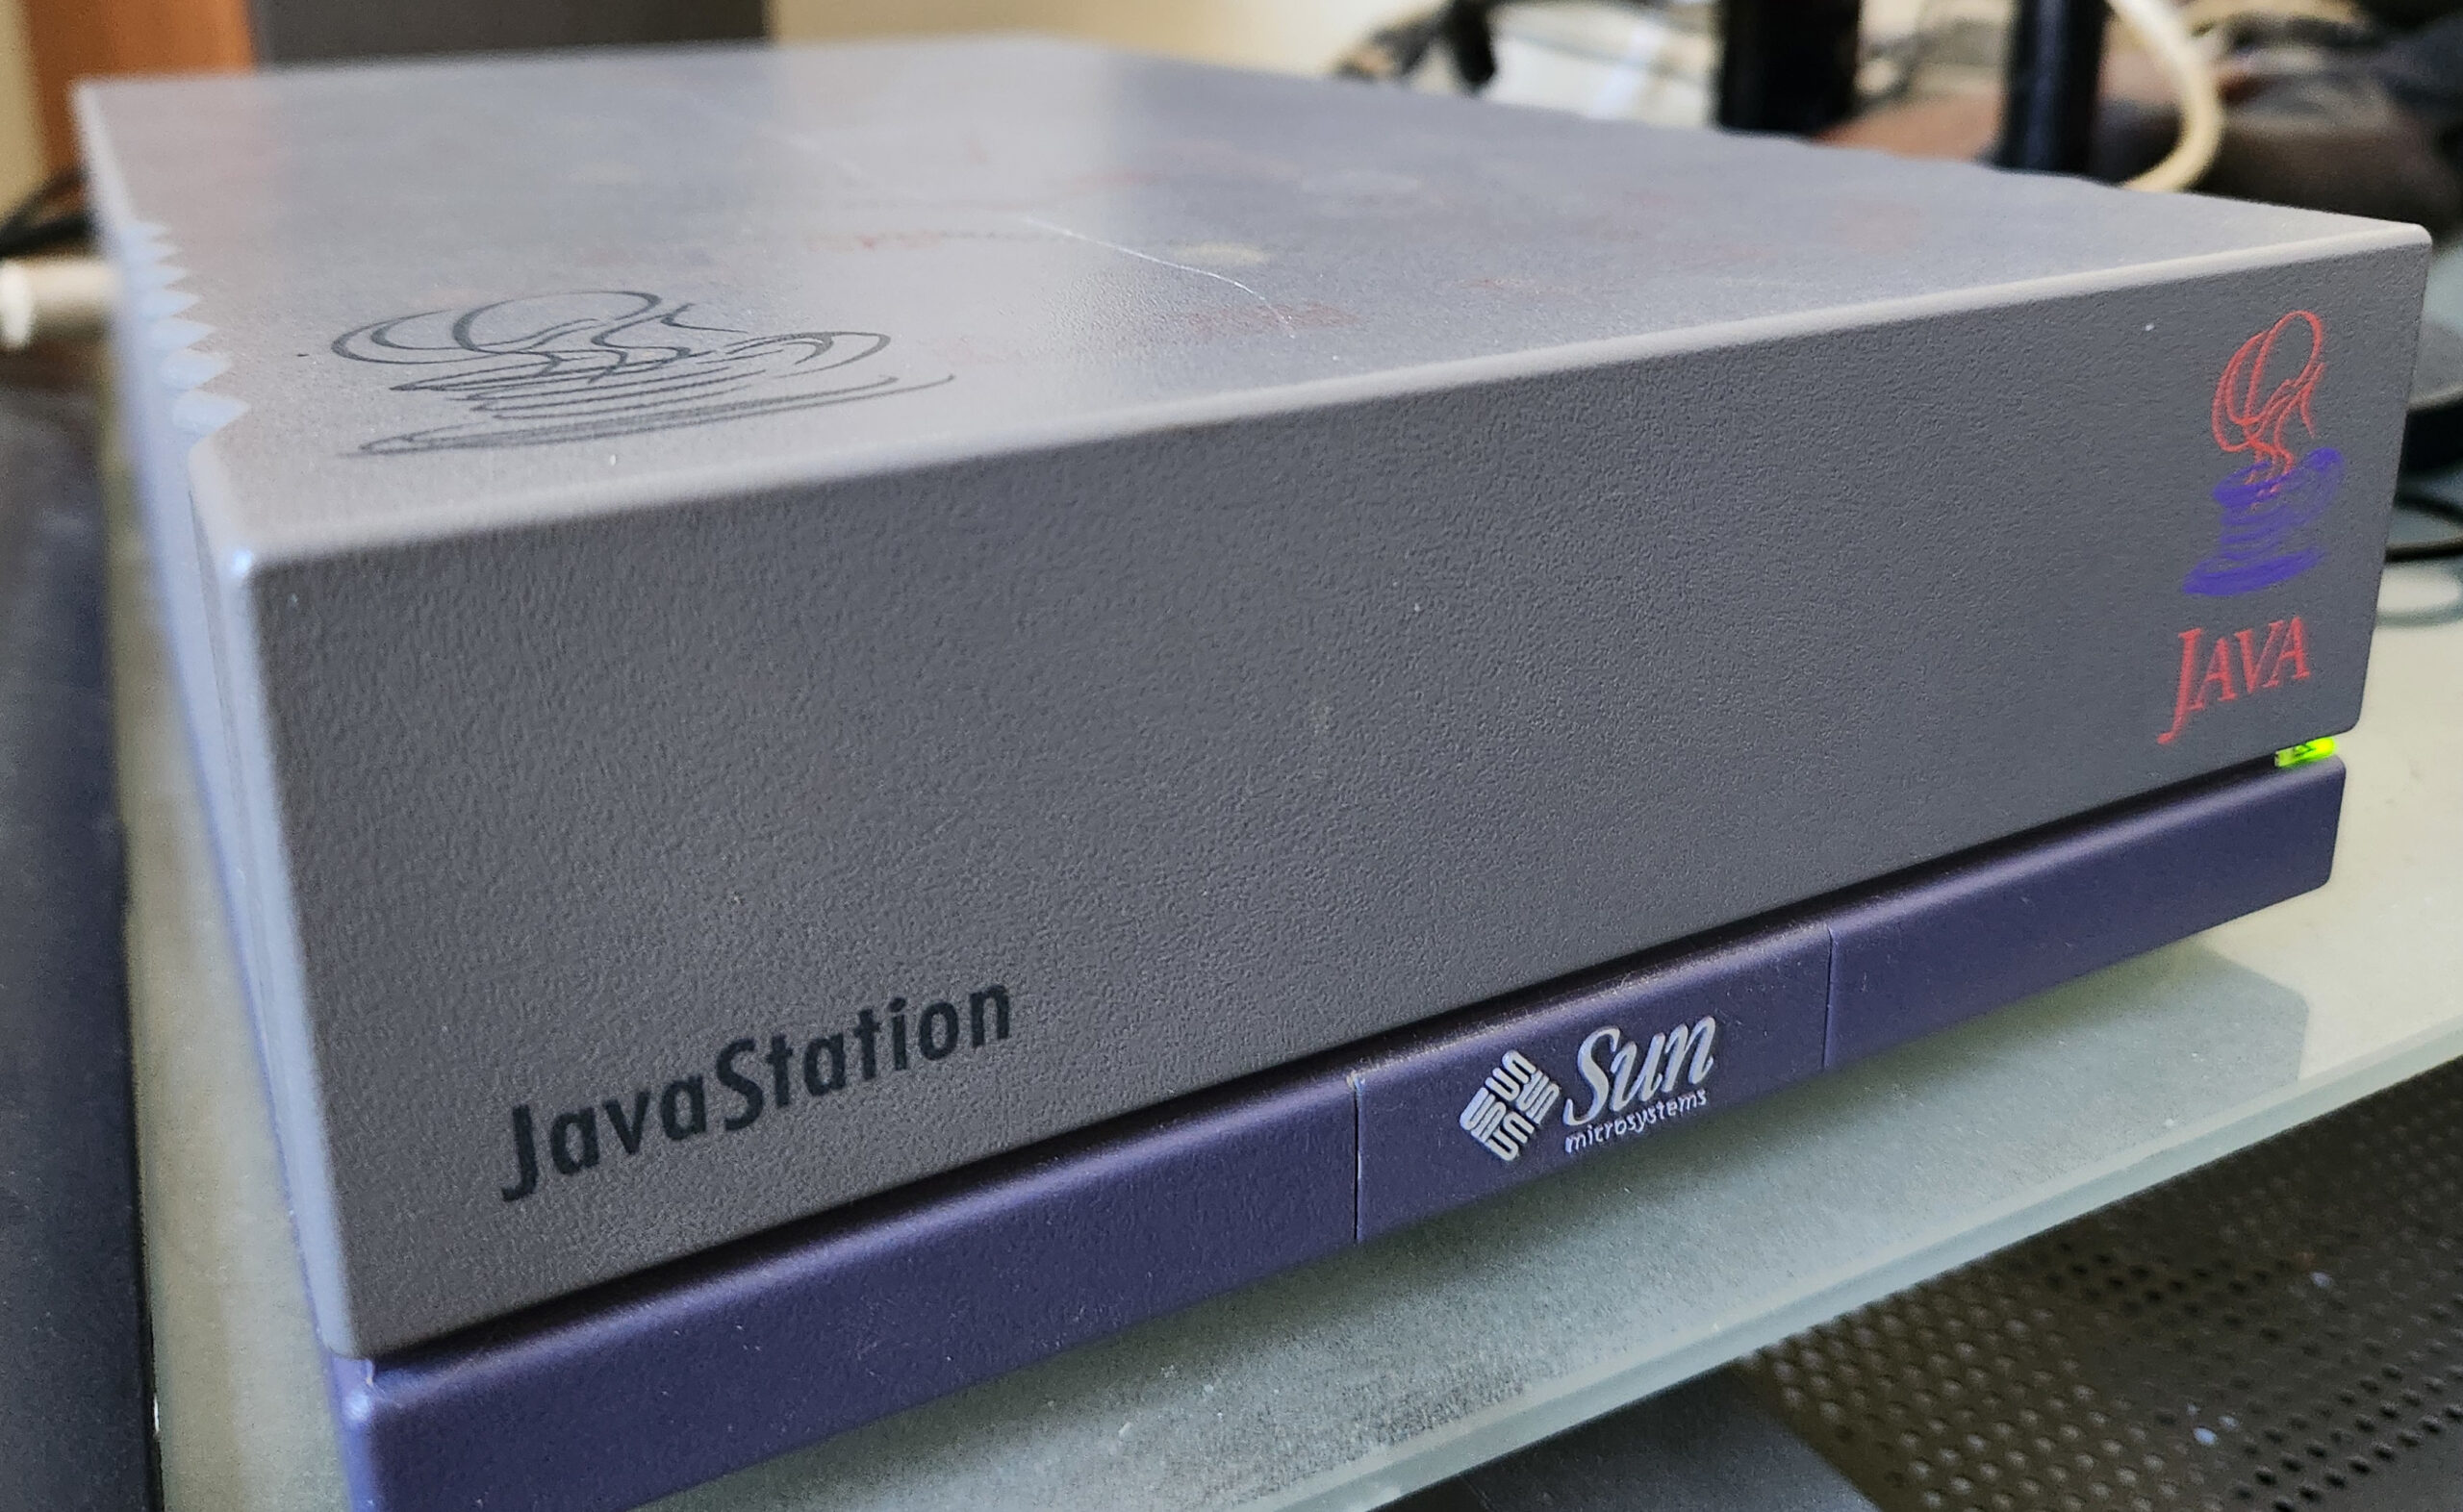
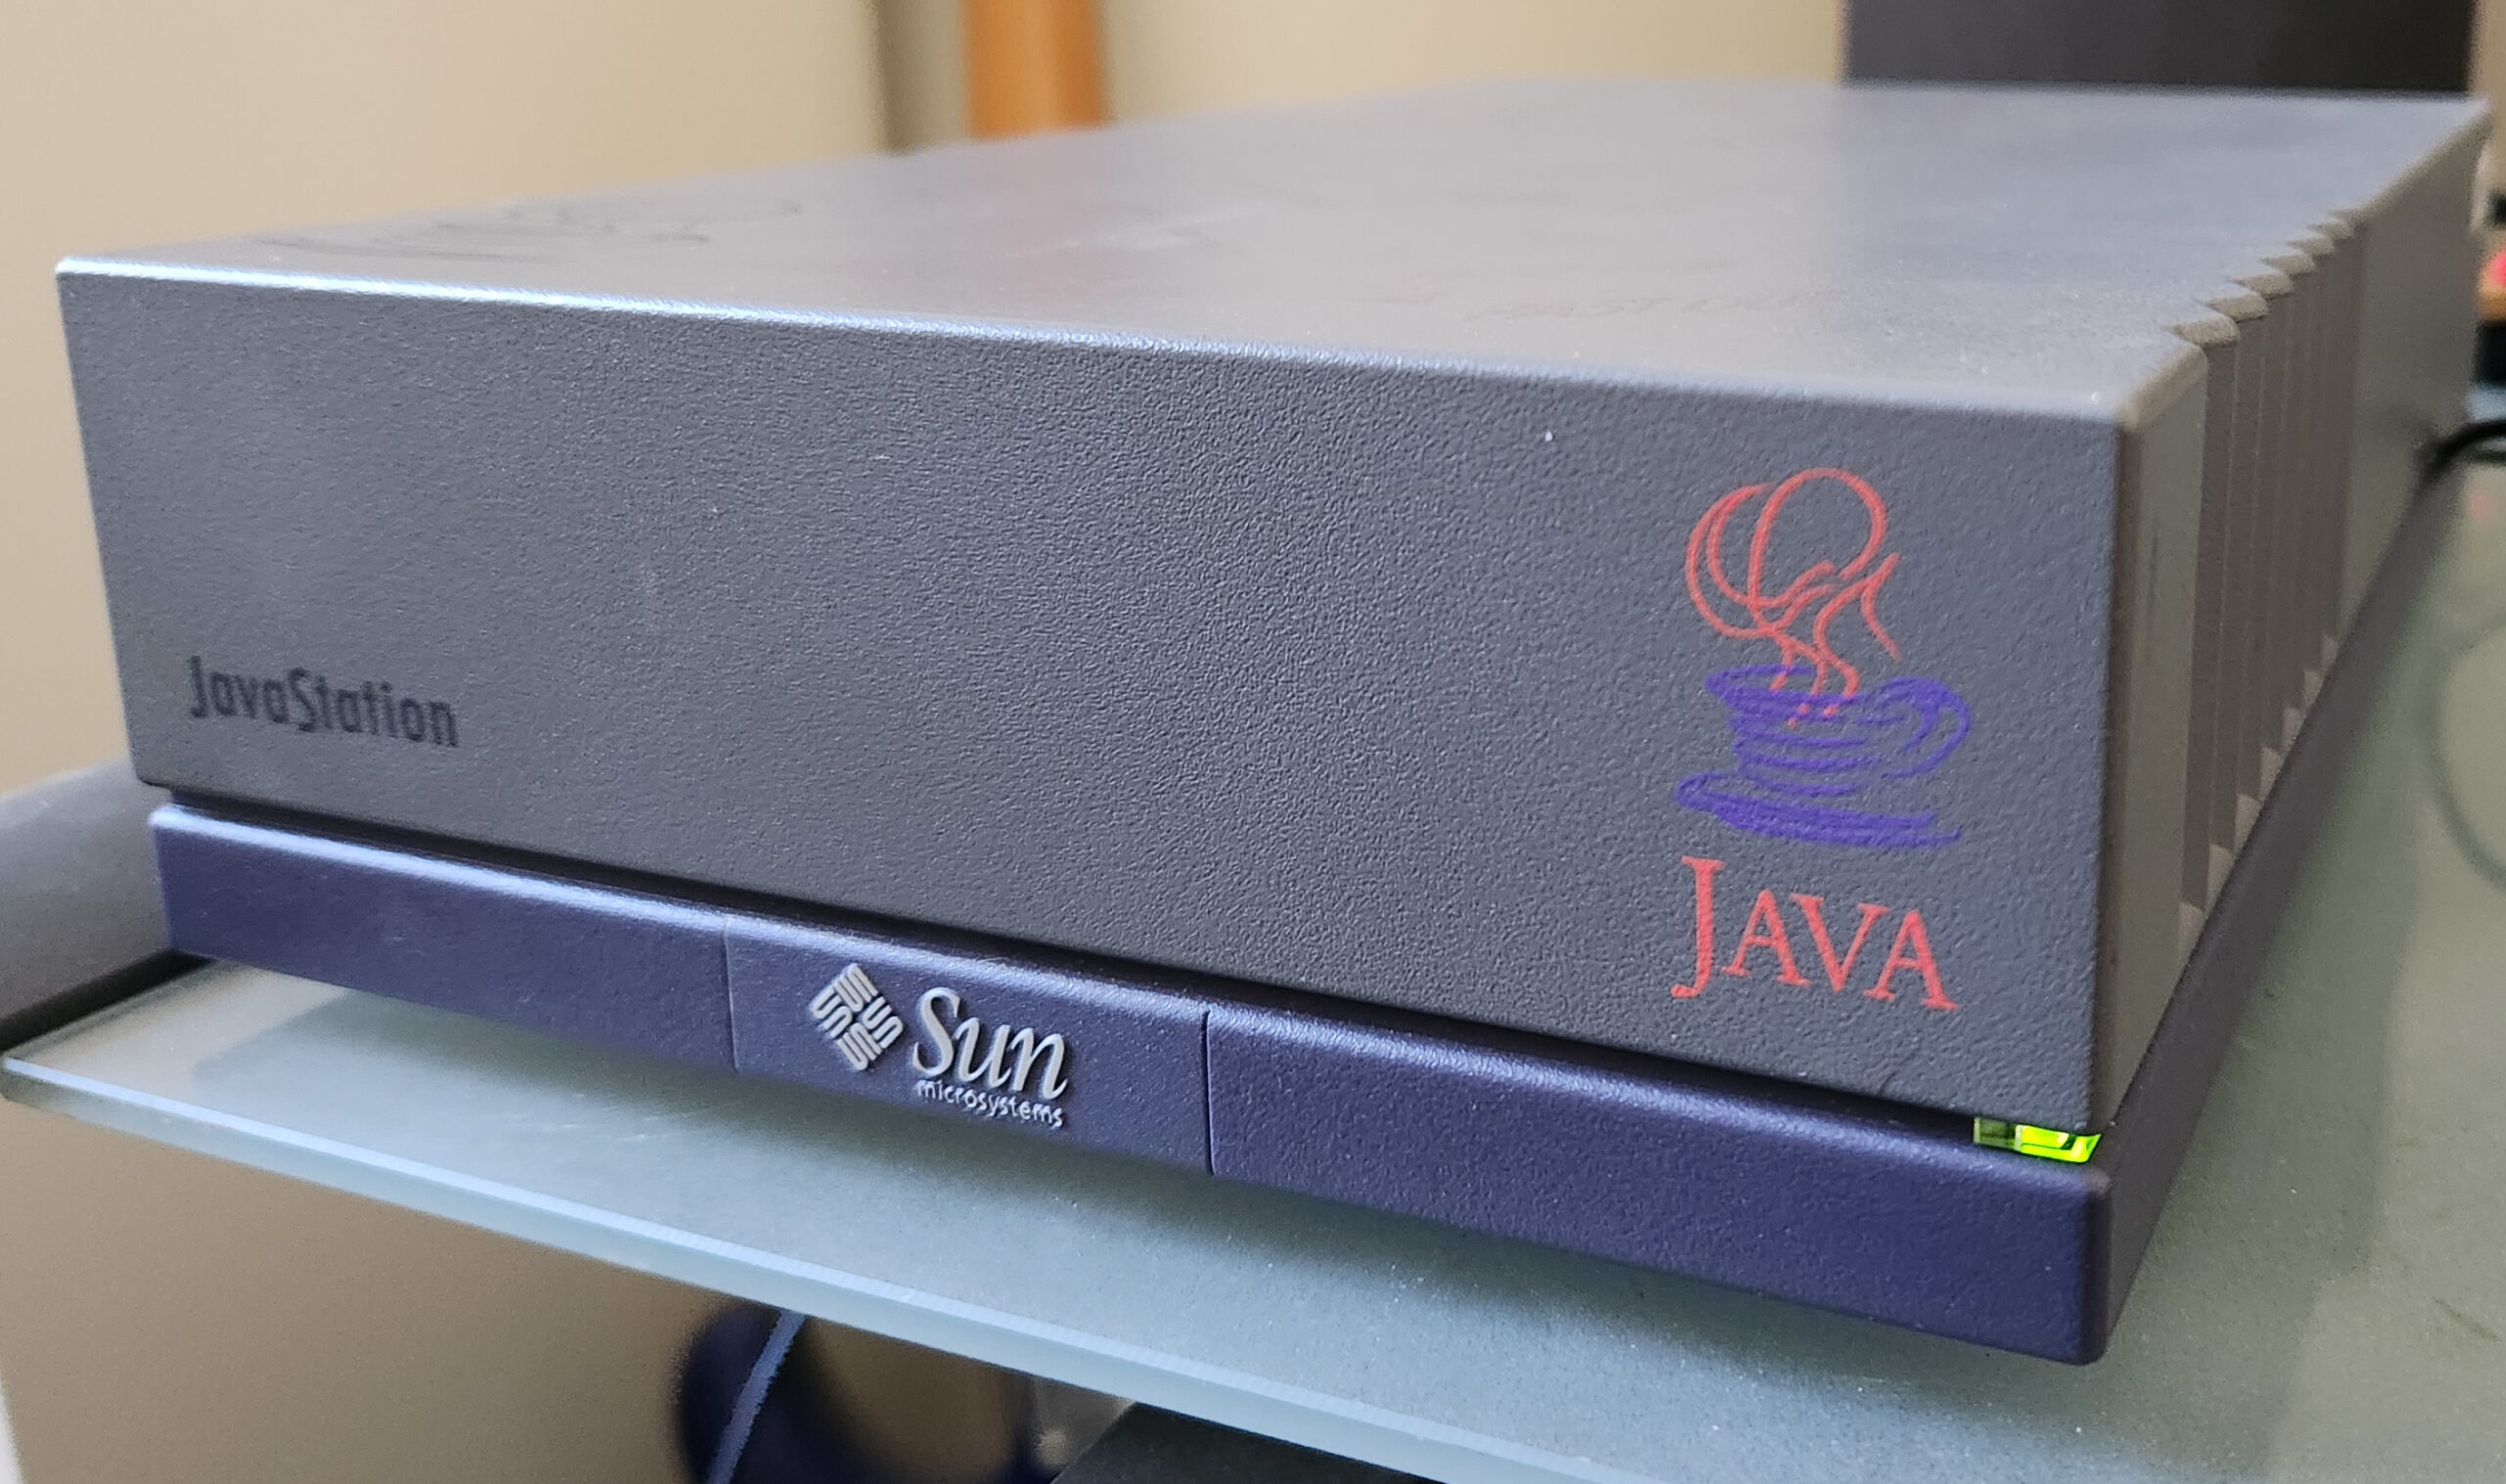
Of course, as it transpired, things didn’t quite go to plan: the JavaStation didn’t materialise for ages, and when it did, it didn’t look like a coffee pot, it looked like a mini SPARCstation with the java logo plastered on it. The Java-chip thing proved more difficult to realize than anticipated and so the machine was a based on SPARC, without a disk, intended to be used to run Java apps in a Java based OS called, cleverly, JavaOS. Despite not being a pure Java machine, it was, arguably, the first real network computer, and I wanted one.
Eventually the JavaStation 2 was released, and it did look more like a coffee pot, but was still “just” a SPARC. They didn’t change the world.
Decades later, here we are, and I am finding myself wallowing in nostalgia for the unreachable technology of my youth.
After many months of searching I found a Mr Coffee JavaStation for sale in Canada; unfortunately the seller only accepted payments through a Canadian banking service which is pretty much inaccessible outside Canada. Many months later, a friend of mine moved to Canada for work and was kind enough to buy it and ship it to me.
Waiting for that package to arrive was painful; I was checking the tracking details obsessively and experienced a great deal of frustration and bafflement as it moved around the country in completely bizarre directions. It went from Canada, pretty much right past my house to a mail depot that was further away from me than the original location in Canada!
But eventually it arrived and, apart from a few ink stains and a scratch, was in nice condition. BTW, any advice on cleaning it up without damaging the casing would be very gratefully received.
I hooked it up to a monitor and keyboard and then powered it on. To my joy, the fan and the power LED came to life! But nothing on the screen. The keyboard LEDs didn’t light up either…
So, I hooked up the serial port to a Mac. This involved digging out an old DB-9 serial cable from my time machine, and an RS-232 to USB adapter. On the mac I fired up Minicom: nothing.
Even at the point of power on, nothing came out of the serial port. This was a great disappointment, but I knew it may need some love when I ordered it, and so I spent time looking around inside for anything obviously blown, and then had a crack at it with the service manual and a multi-meter. Thankfully, there are several great archives of Sun documentation on the Internet – which is handy because it really does seem like Oracle went out of their way to scrub all traces of Sun’s existence from history.
Sadly, the service manual had no information about repairing the motherboard beyond declaring it a “whole unit replacement”.

There are a lot of very old forums involving people discussing various problems with JavaStations, but they were all concerned with working units.
After some lackluster investigations, I began to fear that something was seriously wrong with it, that would involve a whole new level of investigation with a scope and logic analysers. I’m also not anywhere experienced enough at that type of thing to have confidence that I’d ever get it fixed, so it became another monument to failed attempts at reviving beautiful old tech.
Every time I thought I’d have another go at it, the memories of failed attempts at recapping other devices came to mind, and I couldn’t bear the idea of spending so many hours on trying to fix and replace components, only to have it still not work at the end.
Many months later I got inspired again, and thought I’d see if there were any videos of people working on JavaStations. I found a video of a guy doing a tear-down of a Mr Coffee and, despite being quite adept at getting into the thing, I gave it a watch.
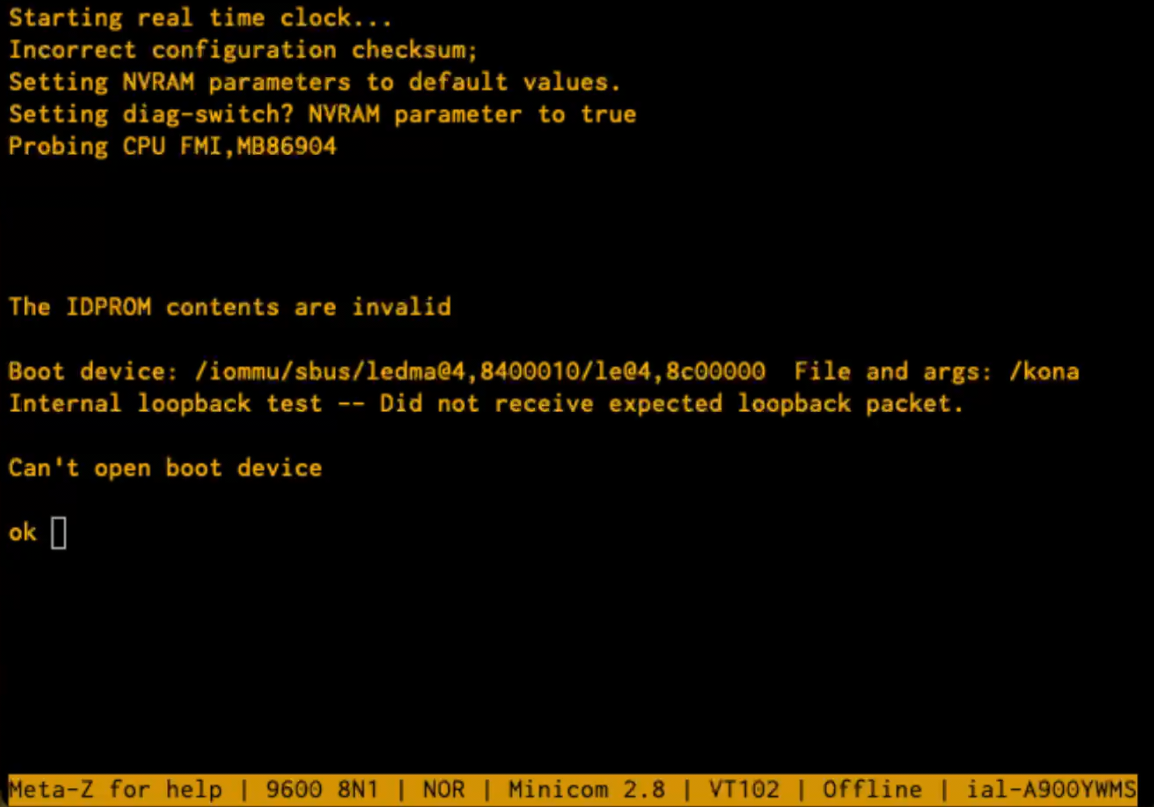
The guy was clearly knowledgeable about the topic and pointed out that the battery backed up NVRAM was very likely to have a dead battery. This was something I was familiar with, having revived some old IPC/IPX boxes in the past. But then he said something magical: if the battery is dead, it won’t boot at all, and you’d need to configure it with a serial terminal. Well, I’d looked for life with a serial terminal and there was nothing. But when I watched him do the same thing, I noticed something different: it took a considerable amount of time before anything appeared on the serial port. Like a minute. Also, I hadn’t bothered to check the required baud rate (it’s been a while since I had to worry about that stuff). So, what if I had the wrong baud rate and also hadn’t waited long enough to see any transmissions. You probably know what I’m going to say next, and yes, the only thing wrong with my JavaStation turned out to be a dead NVRAM battery and my lack of patience. With a 9600 baud serial connection and some patience I was delighted to be greeted with some complaints about corrupt NVRAM followed by an “ok” prompt.
There is no way to convey to you how excited I was to see this. Even if I couldn’t get this thing to boot an OS, I had a lovely serial-based FORTH interpreter to play with. In case you’re confused by that last sentence, you need to know that Sun’s bootloader environment from that period was called OpenBoot, and consisted of a FORTH interpreter, from which you can interrogate the device tree and pretty much do whatever you want. At this point the JavaStation was a functional computer and that would have been sufficient on its own – but getting it to run an actual OS would be a nice fun project.
After a bit of Googling, I plumped for NetBSD; their documentation was extremely comprehensive (as is frequently the case with the BSDs), and it appeared that even in the latest release (10.1), there was still support for not just SPARC, but specifically the JavaStation.
Before any of that, we had to deal with the NVRAM battery being dead. The dead battery meant that whenever the power is turned off, the data in the NVRAM is lost, resulting in junk memory contents. When the machine starts up, it performs a checksum on the a part of the NVRAM data called IDPROM, and if it’s incorrect, resets it to default values. So, until we get the battery replaced [this will be discussed in a later post], we have to give the IDPROM some sensible(ish) values every time we start up. Thankfully this is quite simple, and we can do it all at the “ok” prompt. Here is what that looks like:
ok 01 00 mkp
ok real-machine-type 01 mkp
ok 8 02 mkp
ok 0 03 mkp
ok 20 04 mkp
ok b0 05 mkp
ok 0b 06 mkp
ok 13 07 mkp
ok 0 08 mkp
ok 0 09 mkp
ok 0 0a mkp
ok 0 0b mkp
ok b0 0c mkp
ok 0b 0d mkp
ok 13 0e mkp
ok 0 f 0 do i idprom@ xor loop f mkp
This looks insanely complicated, but it’s actually pretty straightforward. Skip this section if you’re not interested.
As mentioned above, we’re in a FORTH interpreter, but even if you’ve never used (or even heard of) FORTH, it’s simple to understand, but a bit odd when you first have to deal with it.
The command “mkp” takes the two numbers before it, and writes the first one into the IDPROM at the address of the second one. So, for example, the first line below “01 00 mkp” writes the value 1 into address 0. Below is an explanation of what the numbers we’re writing mean:

In case you’re wondering how we know what data to write where, there’s a handy guide at https://shrubbery.net/~heas/sun-feh-2_1/Devices/IDPROM/IDPROM_Overview.html. The MAC address I’m using is made-up, but the first three bytes (08-00-20) are actually the correct Sun OUI for this device.
The “checksum” line is more complicated: it’s a tiny little FORTH program that generates the checksum and writes it to address 0xF. Figuring out how it works can be left as an exercise for the reader.
So, after entering these commands, we have written a configuration to the IDPROM that is valid enough to allow it to boot. Now we have to reboot without removing the power, so we type “reset”.
The JavaStation restarts, and this time it’s happy enough to start using its built in display (via the VGA port):
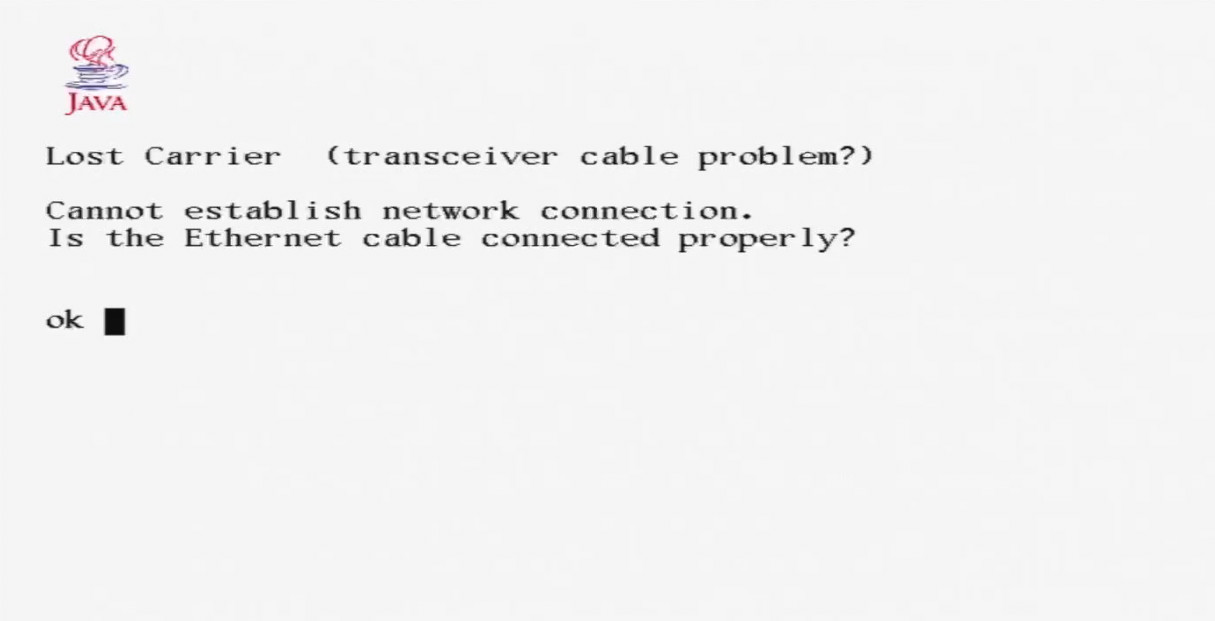
Yes! So it’s happy with the configuration, but now we have to get it to boot. It doesn’t have its own storage, so it needs to boot over the network.
The net-booting procedure works as follows:
- The JavaStation attempts to get an IP address by using the venerable RARP protocol.
- Once it has an IP address, it presumptuously assumes that whatever machine gave it the IP address will also be able to supply a second stage bootloader using tftp, and attempts to fetch it.
- If it manages to get a secondary bootloader over tftp, it runs it.
- The secondary bootloader then attempts to fetch and run a kernel and filesystem using NFS.
As well as the original Sun documentation, NetBSD has great documentation for booting diskless machines at https://www.netbsd.org/docs/network/netboot, and within that document there are subsections for specific architectures and machines including the JavaStation.
As should be reasonably obvious, net-booting needs support from other computers on the network. The NetBSD documentation describes how to achieve this using a bunch of different operating systems, but as I have a few Linux boxes to hand, that’s what I used.
Firstly, we need to answer the JavaStation’s RARP request. This is a very old standard and well supported by Linux using software called “rarpd”. On ubuntu, you can install this with a simple:
sudo apt install rarpdOnce installed, you only need to edit one file to configure it: /etc/ethers. Just add a line to the file consisting of the MAC address of the JavaStation, a space, and the IP address you want it to have on your network. In my case:
08:00:20:B0:0B:13 192.168.128.45The MAC address is defined by whatever you configured into the NVRAM in the steps above.
Next, we need to be able to provide the secondary bootloader over tftp. This is also surprisingly easy. On ubuntu, install tftpd with:
sudo apt install tftpdNetBSD provides a secondary bootloader specifically for SPARC/JavaStations; the latest NetBSD version (10.1) is at https://cdn.netbsd.org/pub/NetBSD/NetBSD-10.1/sparc/installation/netboot/.
bootjs.net is specifically for the JavaStation, but it’s apparently intended for a newer version of the JavaStation than mine because when I tried it, it failed with an “illegal instruction” error. Instead, I used the boot.net version which worked fine. You need to rename the file with a specific format: the IP address of the JavaStation, but in 8 capitalized hex digits, followed a dot, and then the architecture (in this case “SUN4M”). So, in this example the IP address (as defined in rarpd above) is 192.168.128.45, which in hex is C0A8802D. I downloaded and renamed the bootloader with the command:
curl -o /tftpboot/C0A8802D.SUN4M https://cdn.netbsd.org/pub/NetBSD/NetBSD-10.1/sparc/installation/netboot/boot.netThis should be all you need for getting the secondary bootloader to run. At this point it’s a good idea to give the JavaStation a name so we don’t have to continually use the IP address to refer to it in further configurations. In my case I wanted to give it the name “duke,” and so added the following to the /etc/hosts file:
192.168.128.45 dukeThe next stage of the booting involves the JavaStation performing a DHCP request in order find the NFS server it is to boot from. Like most people, I already use DHCP on my LAN to configure everything, but in the DHCP server runs on my router, and the NFS server is running on a different Linux machine. The response from the DHCP server therefore needs to contain a field (“siaddr”) referring to the address of the NFS server. While it should be possible to configure the router’s DHCP server to do this, I had a tough time making it happen. So instead, I decided to configure the router to ignore this MAC address, and instead ran a DHCP server on the Linux machine. You can install the ISC dhcp server on ubuntu with:
sudo apt install isc-dhcp-serverThen add an entry to /etc/dhcp/dhcpd.conf along the following lines:
subnet 192.168.128.0 netmask 255.255.255.0 {

        class "javastation-class" {
               lease limit 1;
               default-lease-time 3600;
               max-lease-time 7200;
        }

        pool {
               allow members of "javastation-class";
               range dynamic-bootp 192.168.128.45 192.168.128.45;
        }

        host duke {
          hardware ethernet 08:00:20:B0:0B:13;
          fixed-address 192.168.128.45;
          option routers 192.168.128.1;
          option root-path "/export/client/root";
        }
}
The “host duke” section contains the config we need the JavaStation to have. Apart from the fixed-address, we’re giving it the path to the NFS shares which will be located on the same machine. As we’re specifically supplying a “hardware ethernet” address, this configuration will only be supplied to our JavaStation, and all other clients will be ignored, leaving the Router DHCP server to deal with everything else as normal.
Finally we need to serve the NetBSD filesystem with NFS. Thankfully, despite its age and total lack of security, NFS is still well supported under Linux. In a nutshell, here’s how you set up the filesystem. These directions are taken from NetBSD’s excellent documentation: https://www.netbsd.org/docs/network/netboot/nfs.html#linux
These instructions assume we’ll host the filesystem at /export/client, but it’s really up to you where you put it, as long as you remember to add the path to the DHCP config above.
# mkdir -p /export/client/root/dev
# mkdir /export/client/usr
# mkdir /export/client/home
# cd /export/client/root
# curl -L https://cdn.netbsd.org/pub/NetBSD/NetBSD-10.1/sparc/binary/sets/kern-MRCOFFEE.tgz | tar xvpzf -
# mknod /export/client/root/dev/console c 0 0
I suggest renaming the kernel from “netbsd” to “kona”, which is the default name the Javastation uses:
# mv netbsd konaAdd the following lines to /etc/exports:
/export/client/root duke(rw,no_root_squash)
/export/client/usr duke(rw,root_squash)
/export/client/home duke(rw,root_squash)
Obviously, substitute “duke” for whatever you called your JavaStation.
# cd /export/client/root
# curl -L https://cdn.netbsd.org/pub/NetBSD/NetBSD-10.1/sparc/binary/sets/base.tgz | tar zxvpf -
# curl -L https://cdn.netbsd.org/pub/NetBSD/NetBSD-10.1/sparc/binary/sets/etc.tgz | tar zxvpf -
# mkdir /export/client/root/kern
# dd if=/dev/zero of=/export/client/swap bs=4k count=4k
Create/edit /export/client/root/etc/ifconfig.<ethernet device name> i.e. ifconfig.le0 in this case, and add the following line (setting the netmask and broadcast for your network):
inet duke netmask 255.255.255.0 broadcast 192.168.1.255Create/edit /export/client/root/etc/fstab, with the following lines:
/swap                           none  swap  sw 0 0
nfsserver:/export/client/root   /     nfs   rw 0 0
nfsserver:/export/client/usr    /usr  nfs   rw 0 0
nfsserver:/export/client/home   /home nfs   rw 0 0
Edit /export/client/root/etc/rc.conf. Make sure the following are set:
hostname="client"
defaultroute="192.168.128.1"
nfs_client=YES
auto_ifconfig=NO
net_interfaces=""
Add the following lines to /export/client/root/etc/hosts:
192.168.1.10 client.test.net client
192.168.1.5  nfsserver.test.net nfsserver
Then:
# mv /export/client/root/usr/* /export/client/usr/ Nowadays, the Linux kernel has a built-in NFS server so no extra daemons are needed. You just need to make sure you have the kernel-server installed:
# apt install nfs-kernel-serverTo make sure that your exported filesystems really are exported, you can force the NFS server to reread /etc/exports:
exportfs -rEverything should now be in-place. so we’re ready to try booting the system. Plug an ethernet cable into the JavaStation, and at the ok prompt type “reset”. If all goes well, the NetBSD second stage bootloader should be fetched and executed.

If there are any problems, you can get a glimpse into what’s going on by sniffing the network traffic. Personally, I prefer to do captures with tcpdump and then analyse the dumps with Wireshark on my laptop: tcpdump is small and headless. For example running:
tcpdump -n -s0 -w boot.pcap host dukeThis will create a capture file that will load straight into Wireshark or any other pcap compatible analyser. Here is what to expect.
Initially, you’ll see the RARP response as the Linux machine tells the Javastation its IP address. Next, you’ll see the JavaStation request the secondary bootloader with TFTP:

If the bootloader transfer succeeds, you’ll see a DHCP transaction followed by NFS traffic:

If all goes well, the first time you boot NetBSD you will be prompted to hit return:
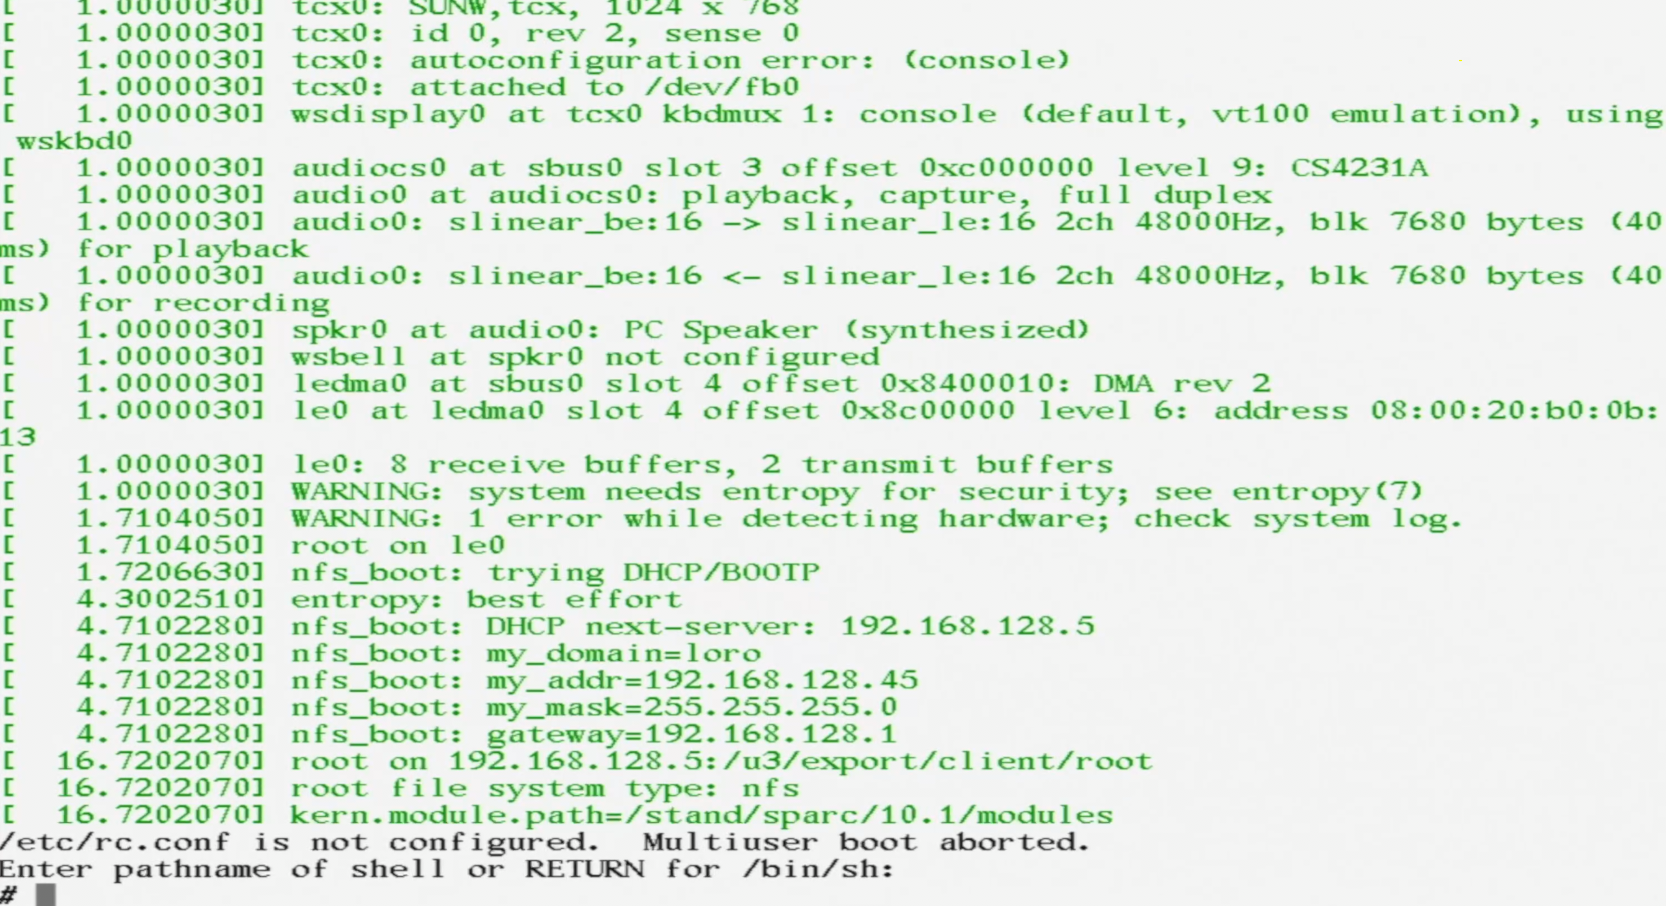
At this point you are running an unconfigured version of NetBSD in single user mode. There are only two things left to do. Firstly, create all of the special device files in dev:
# mount /usr
# cd /dev
# /bin/sh MAKEDEV all
This takes a lot longer than you’d imagine – NFS over 10Mbps is slow…
Finally edit /etc/rc.conf and change the line that starts “rc_configured” to “rc_configured=yes”. N.B. Before you can run an editor like vi, you may need to set the terminal type to something generic:
# export TERM=vt100
# vi /etc/rc.conf
And finally, reboot the system:
# rebootIf the universe is behaving, the system will reboot and you’ll be rewarded with a login prompt. Login as root with no password, and you’re in business!
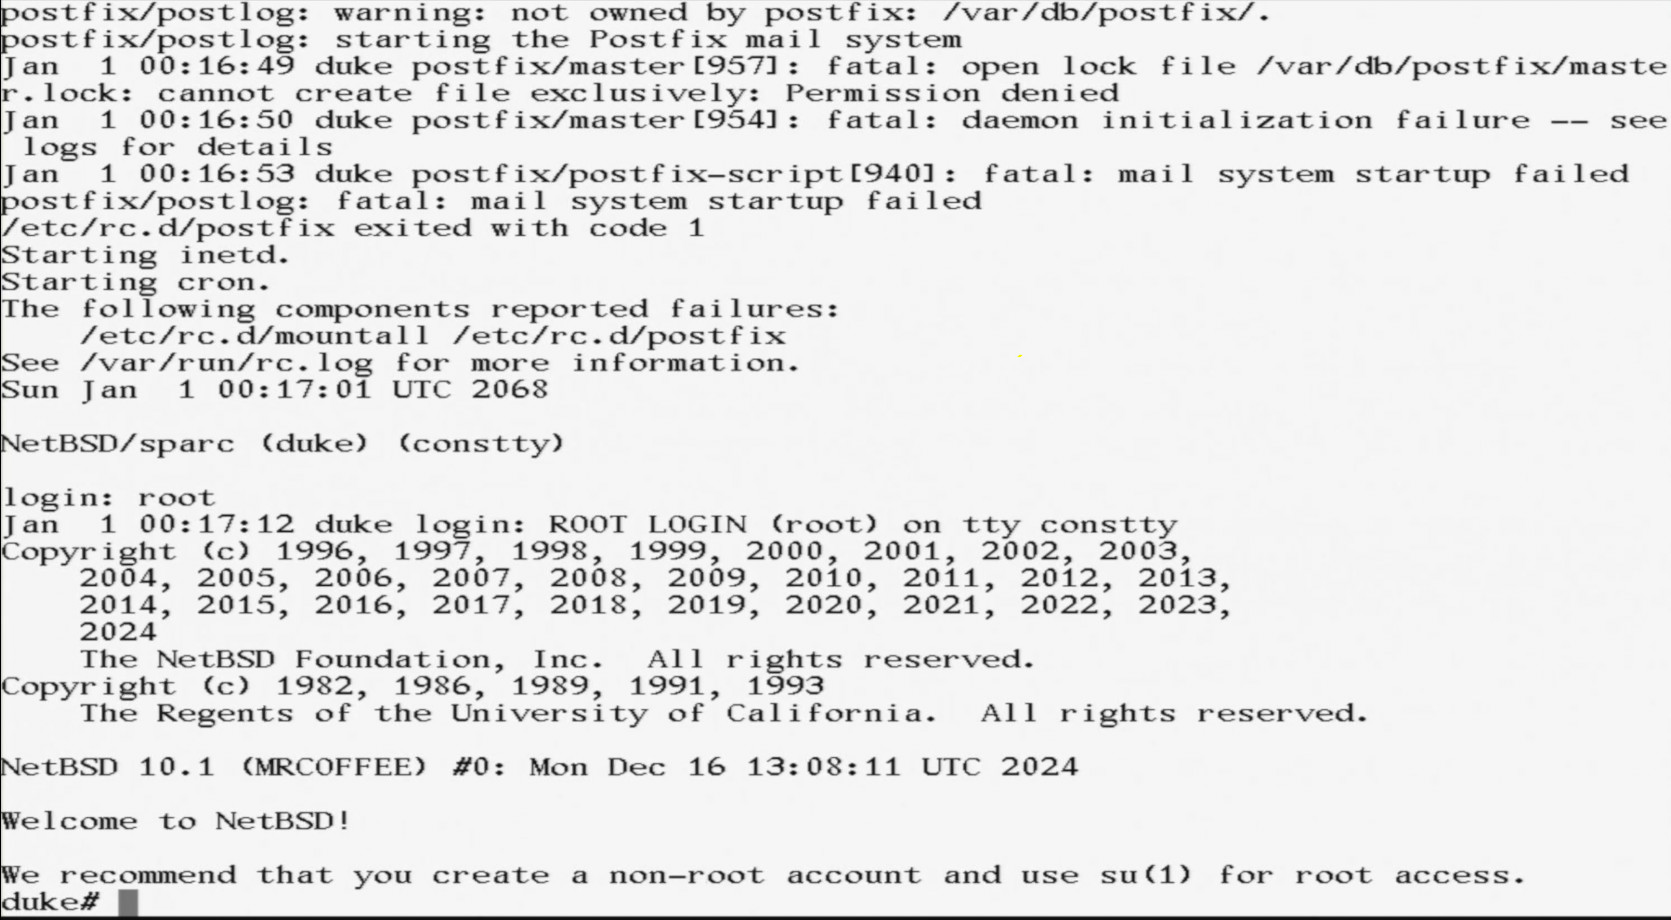
Obviously there is still a lot to do; as you can see postfix isn’t happy, and the swapfile security needs tightening up for a start. But we do now have a functional NetBSD system running on a vintage network computer!